All the dedicated black-and-white modes of the GR III are highly configurable. I invite you to play with these settings to take the monochrome shots you really want. Read on for a quick explanation and comparison photos.
Jump to the comparison photos.
Why you should play with these settings
If you’re into monochrome photography like me, you’ll play again and again with the settings discussed below. It’s not a chore, it’s not boring. On the contrary, it’s fun and exciting to customize your favorite black-and-white mode and go out to test them. The more you’ll do it, the more you’ll know your GR III/IIIx.
How to access black-and-white modes settings
Press the Menu button. In the Still Image Settings tab scroll down to Image Control. To access the different modes more quickly, I added a shortcut to the ADJ button. You can do it too by going to the Customize Settings tab > ADJ Mode Setting. Once you’re on the screen where you can select the different modes, press the Fn button to access the options.
Black-and-white modes settings explained
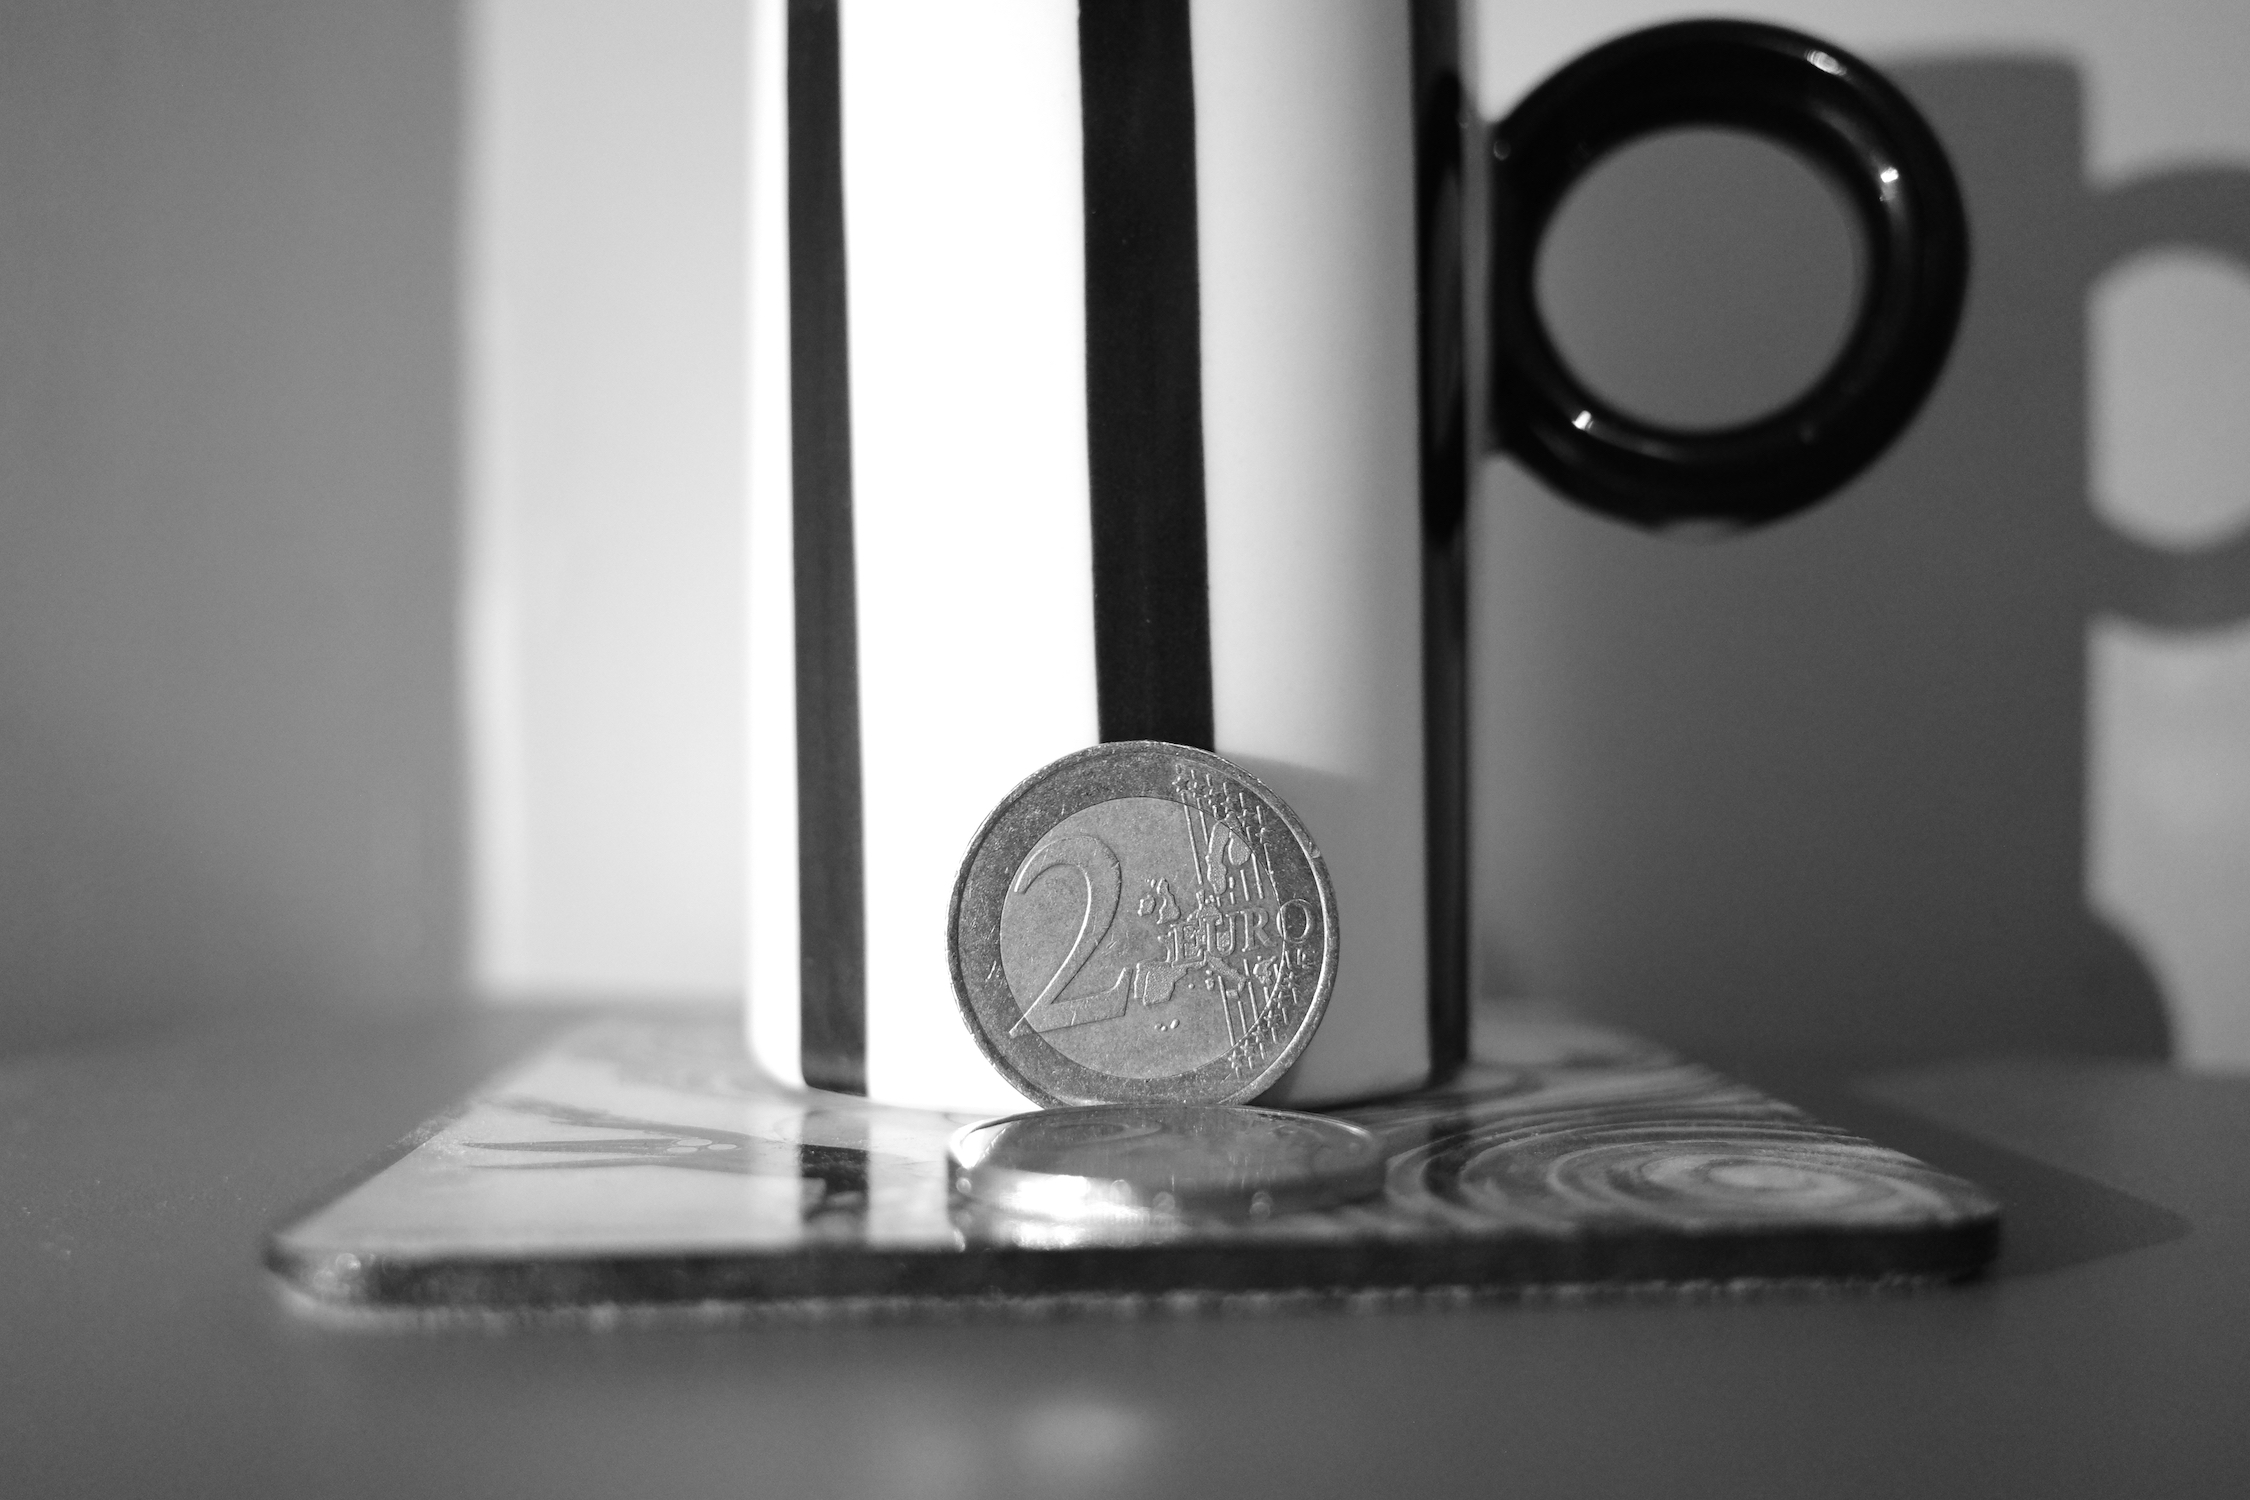
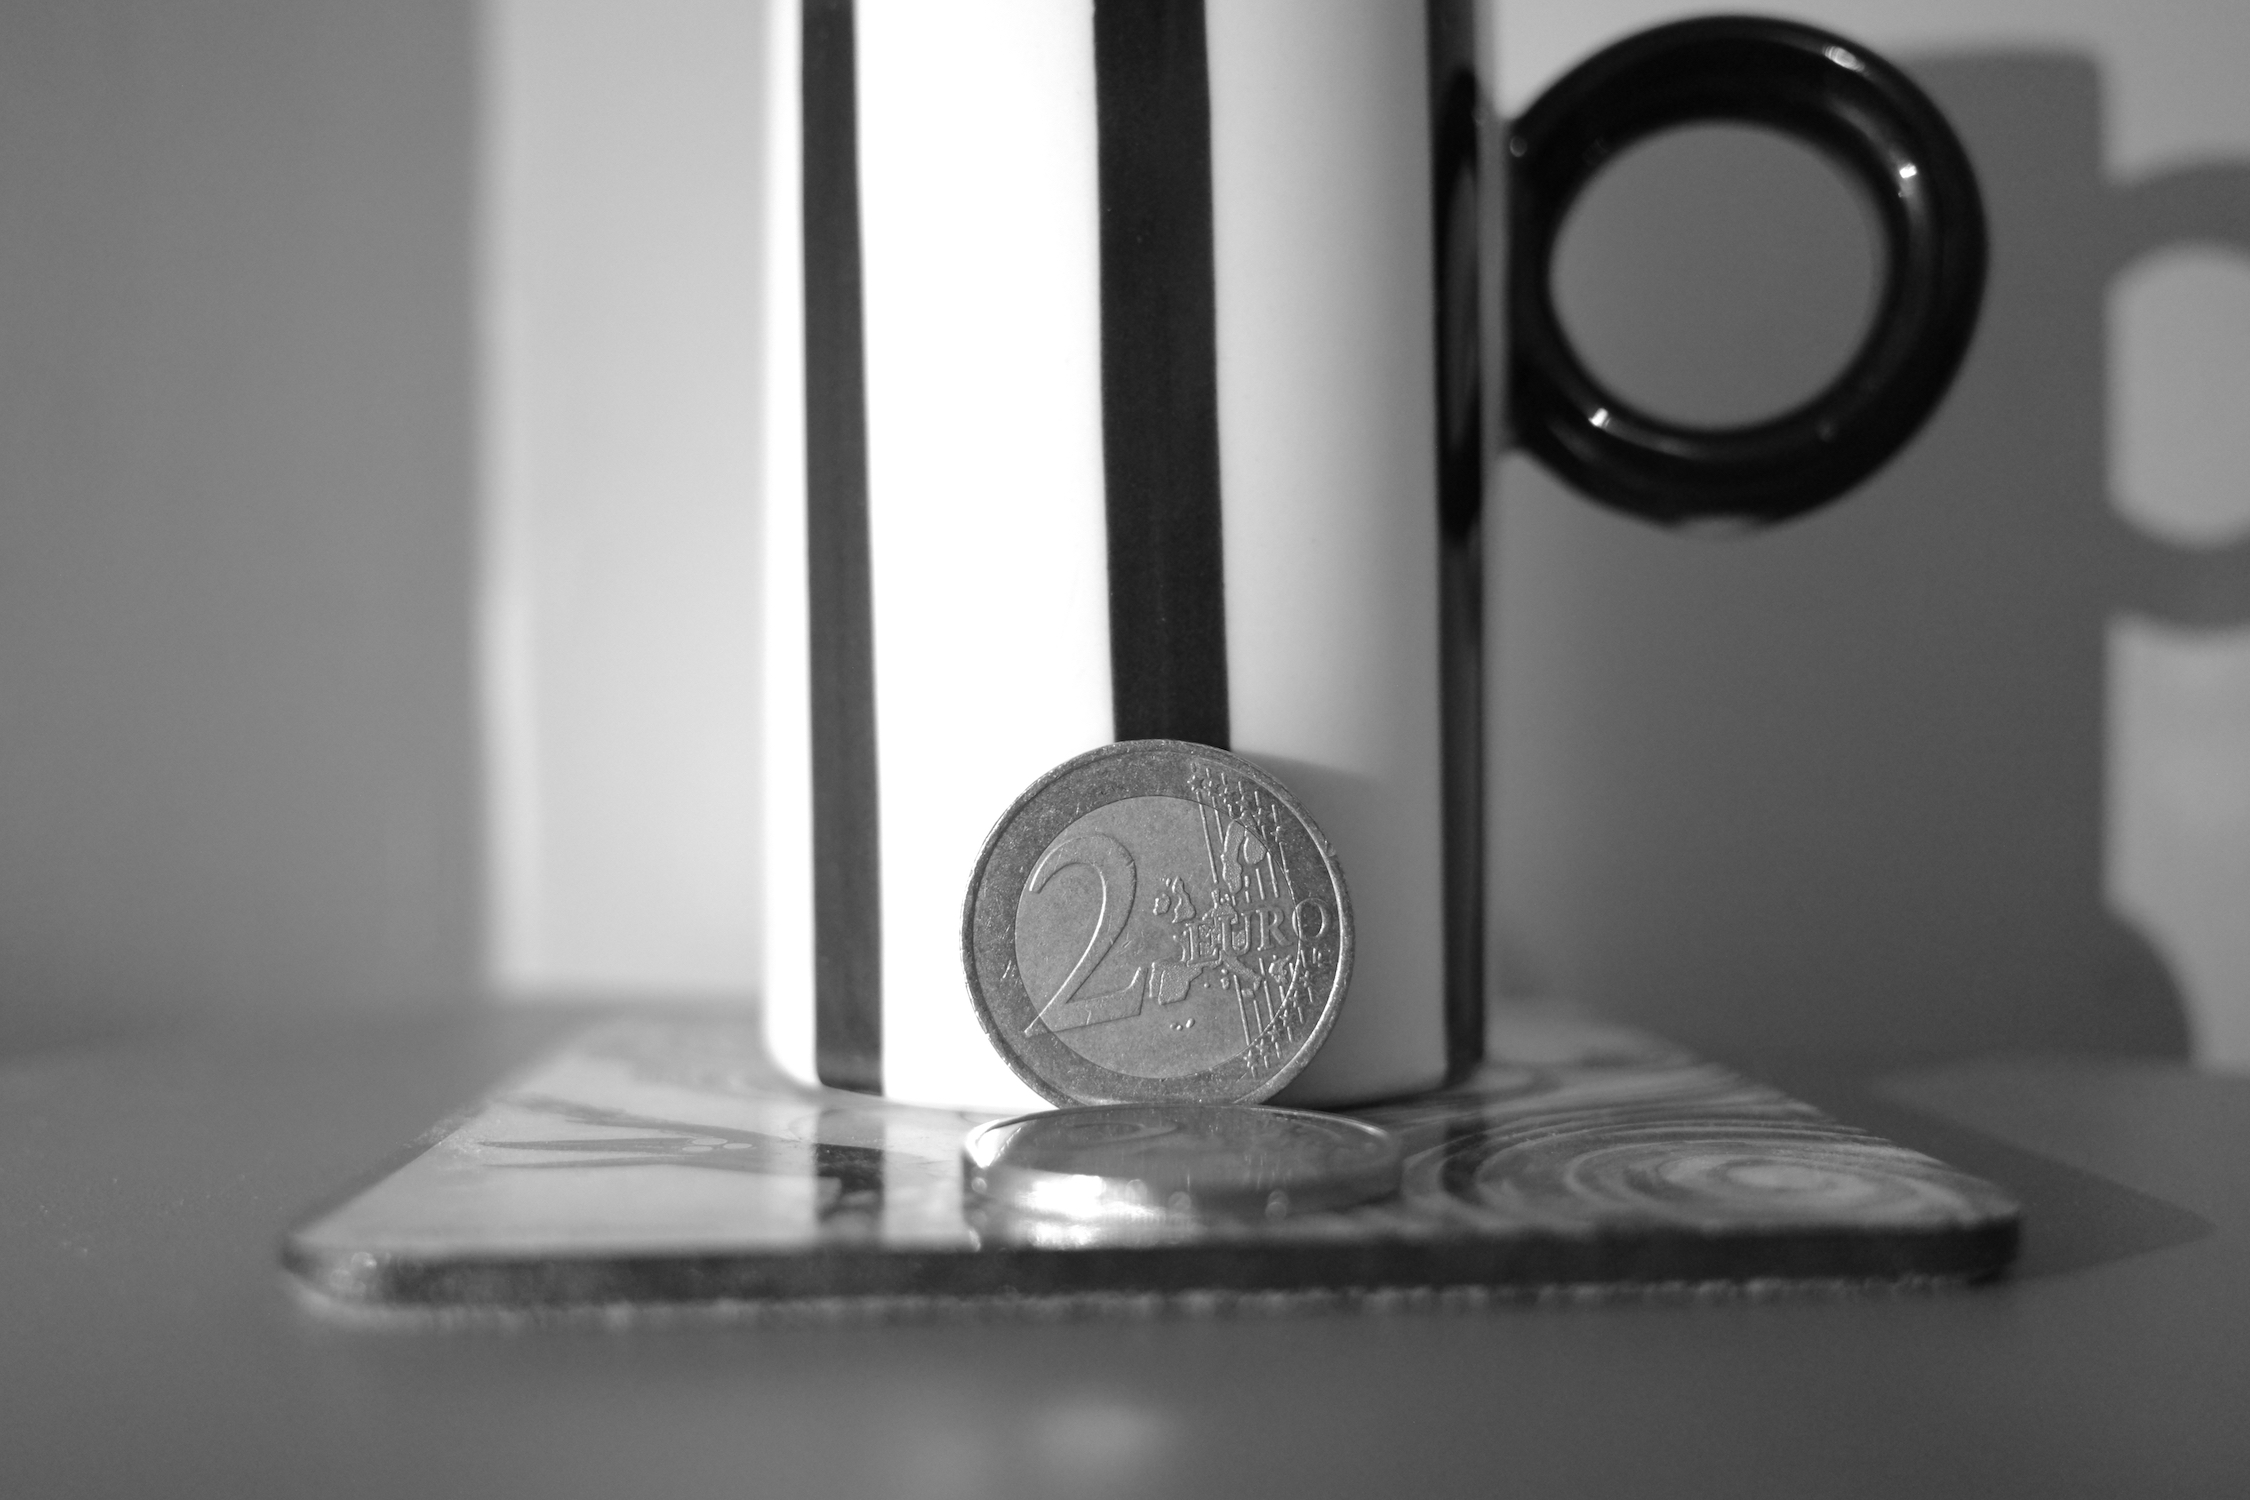
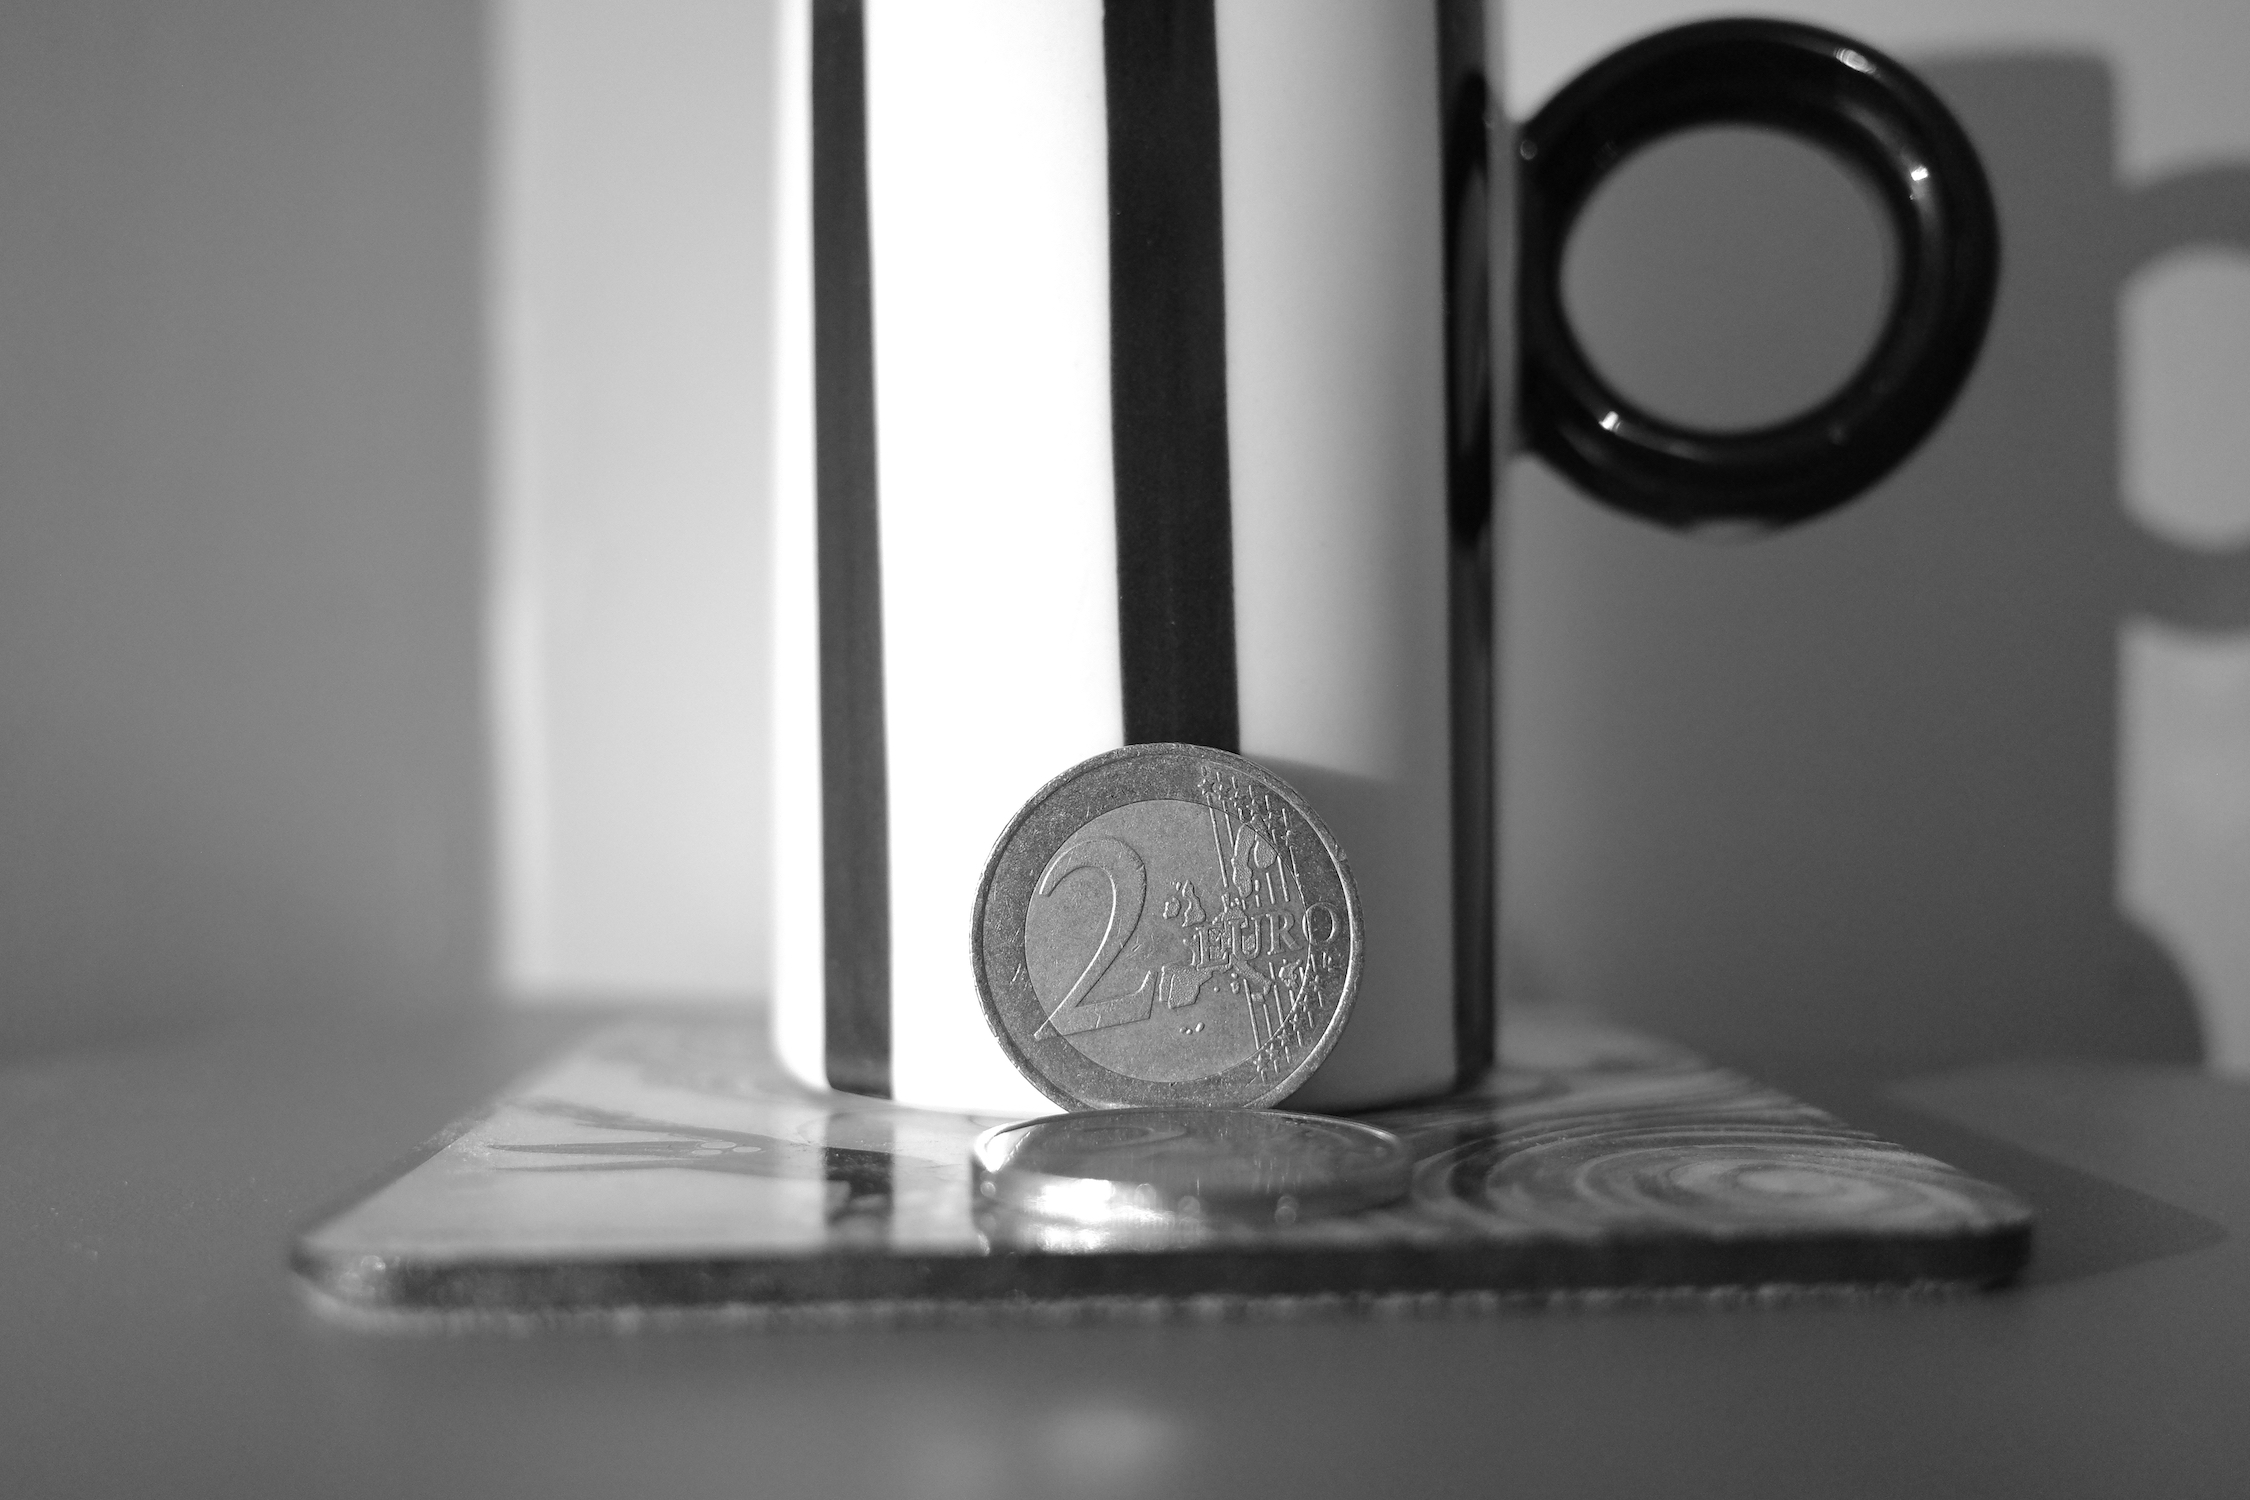
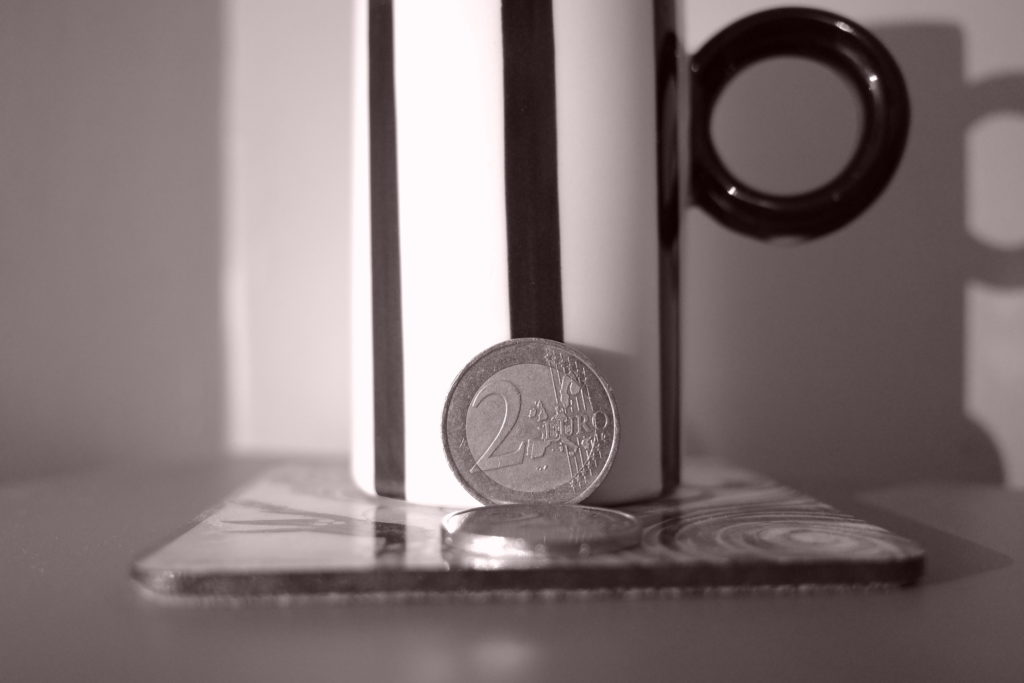
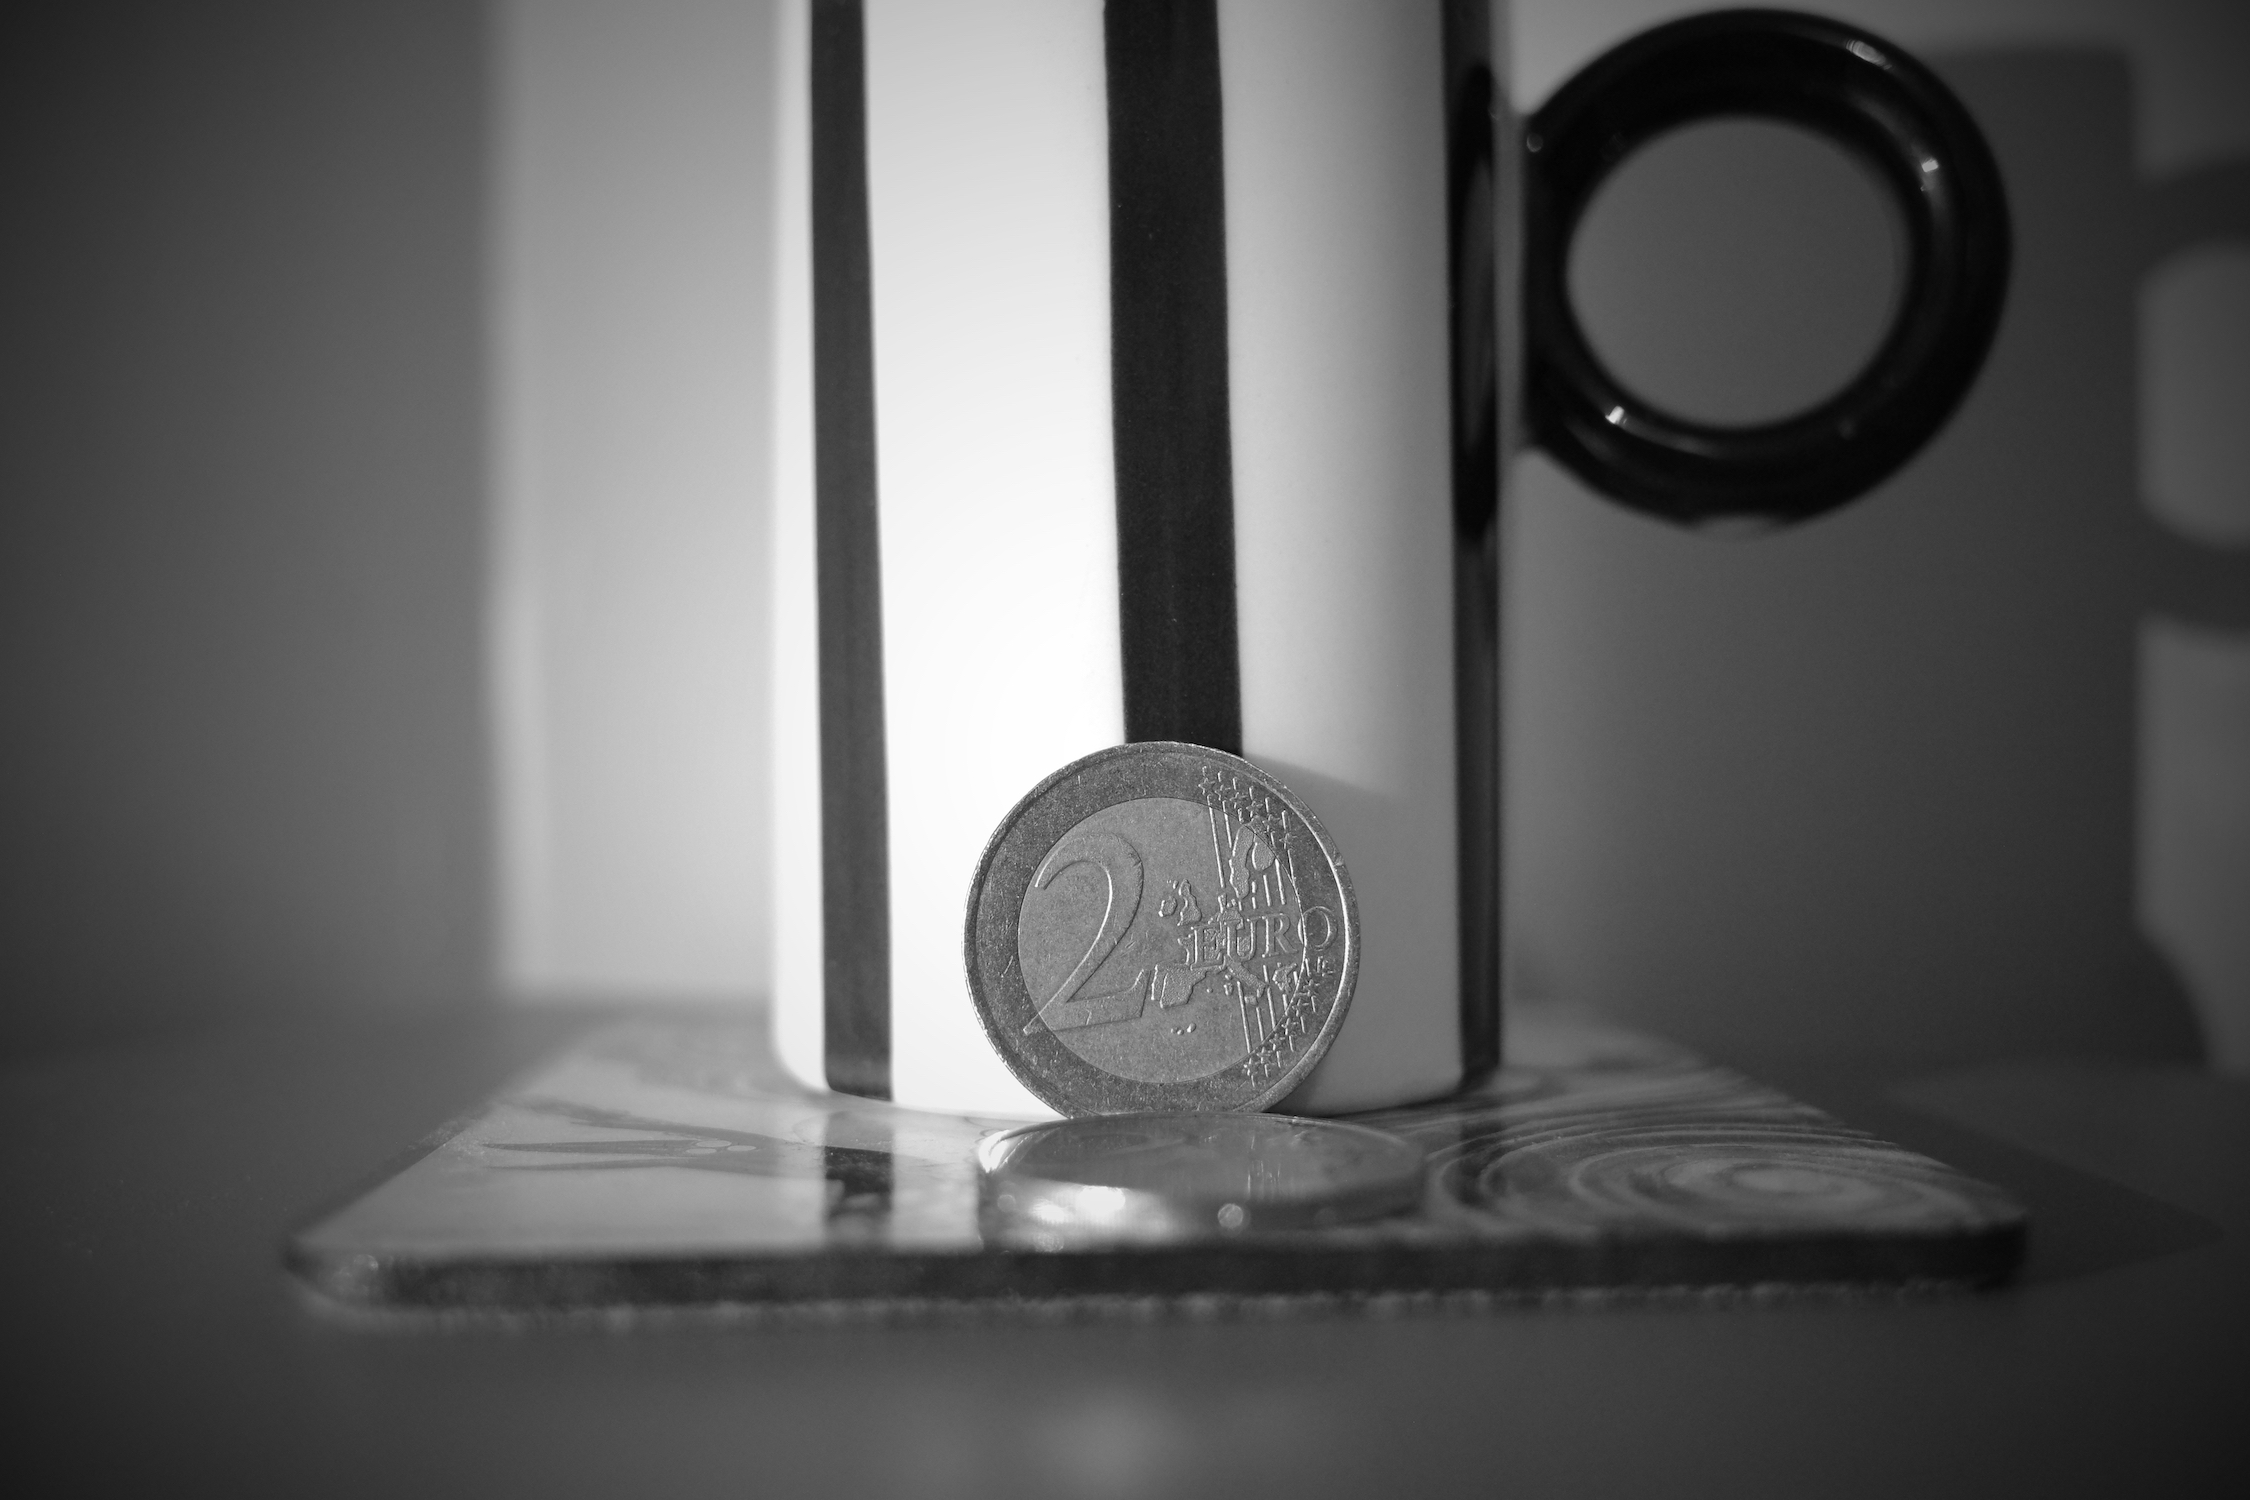
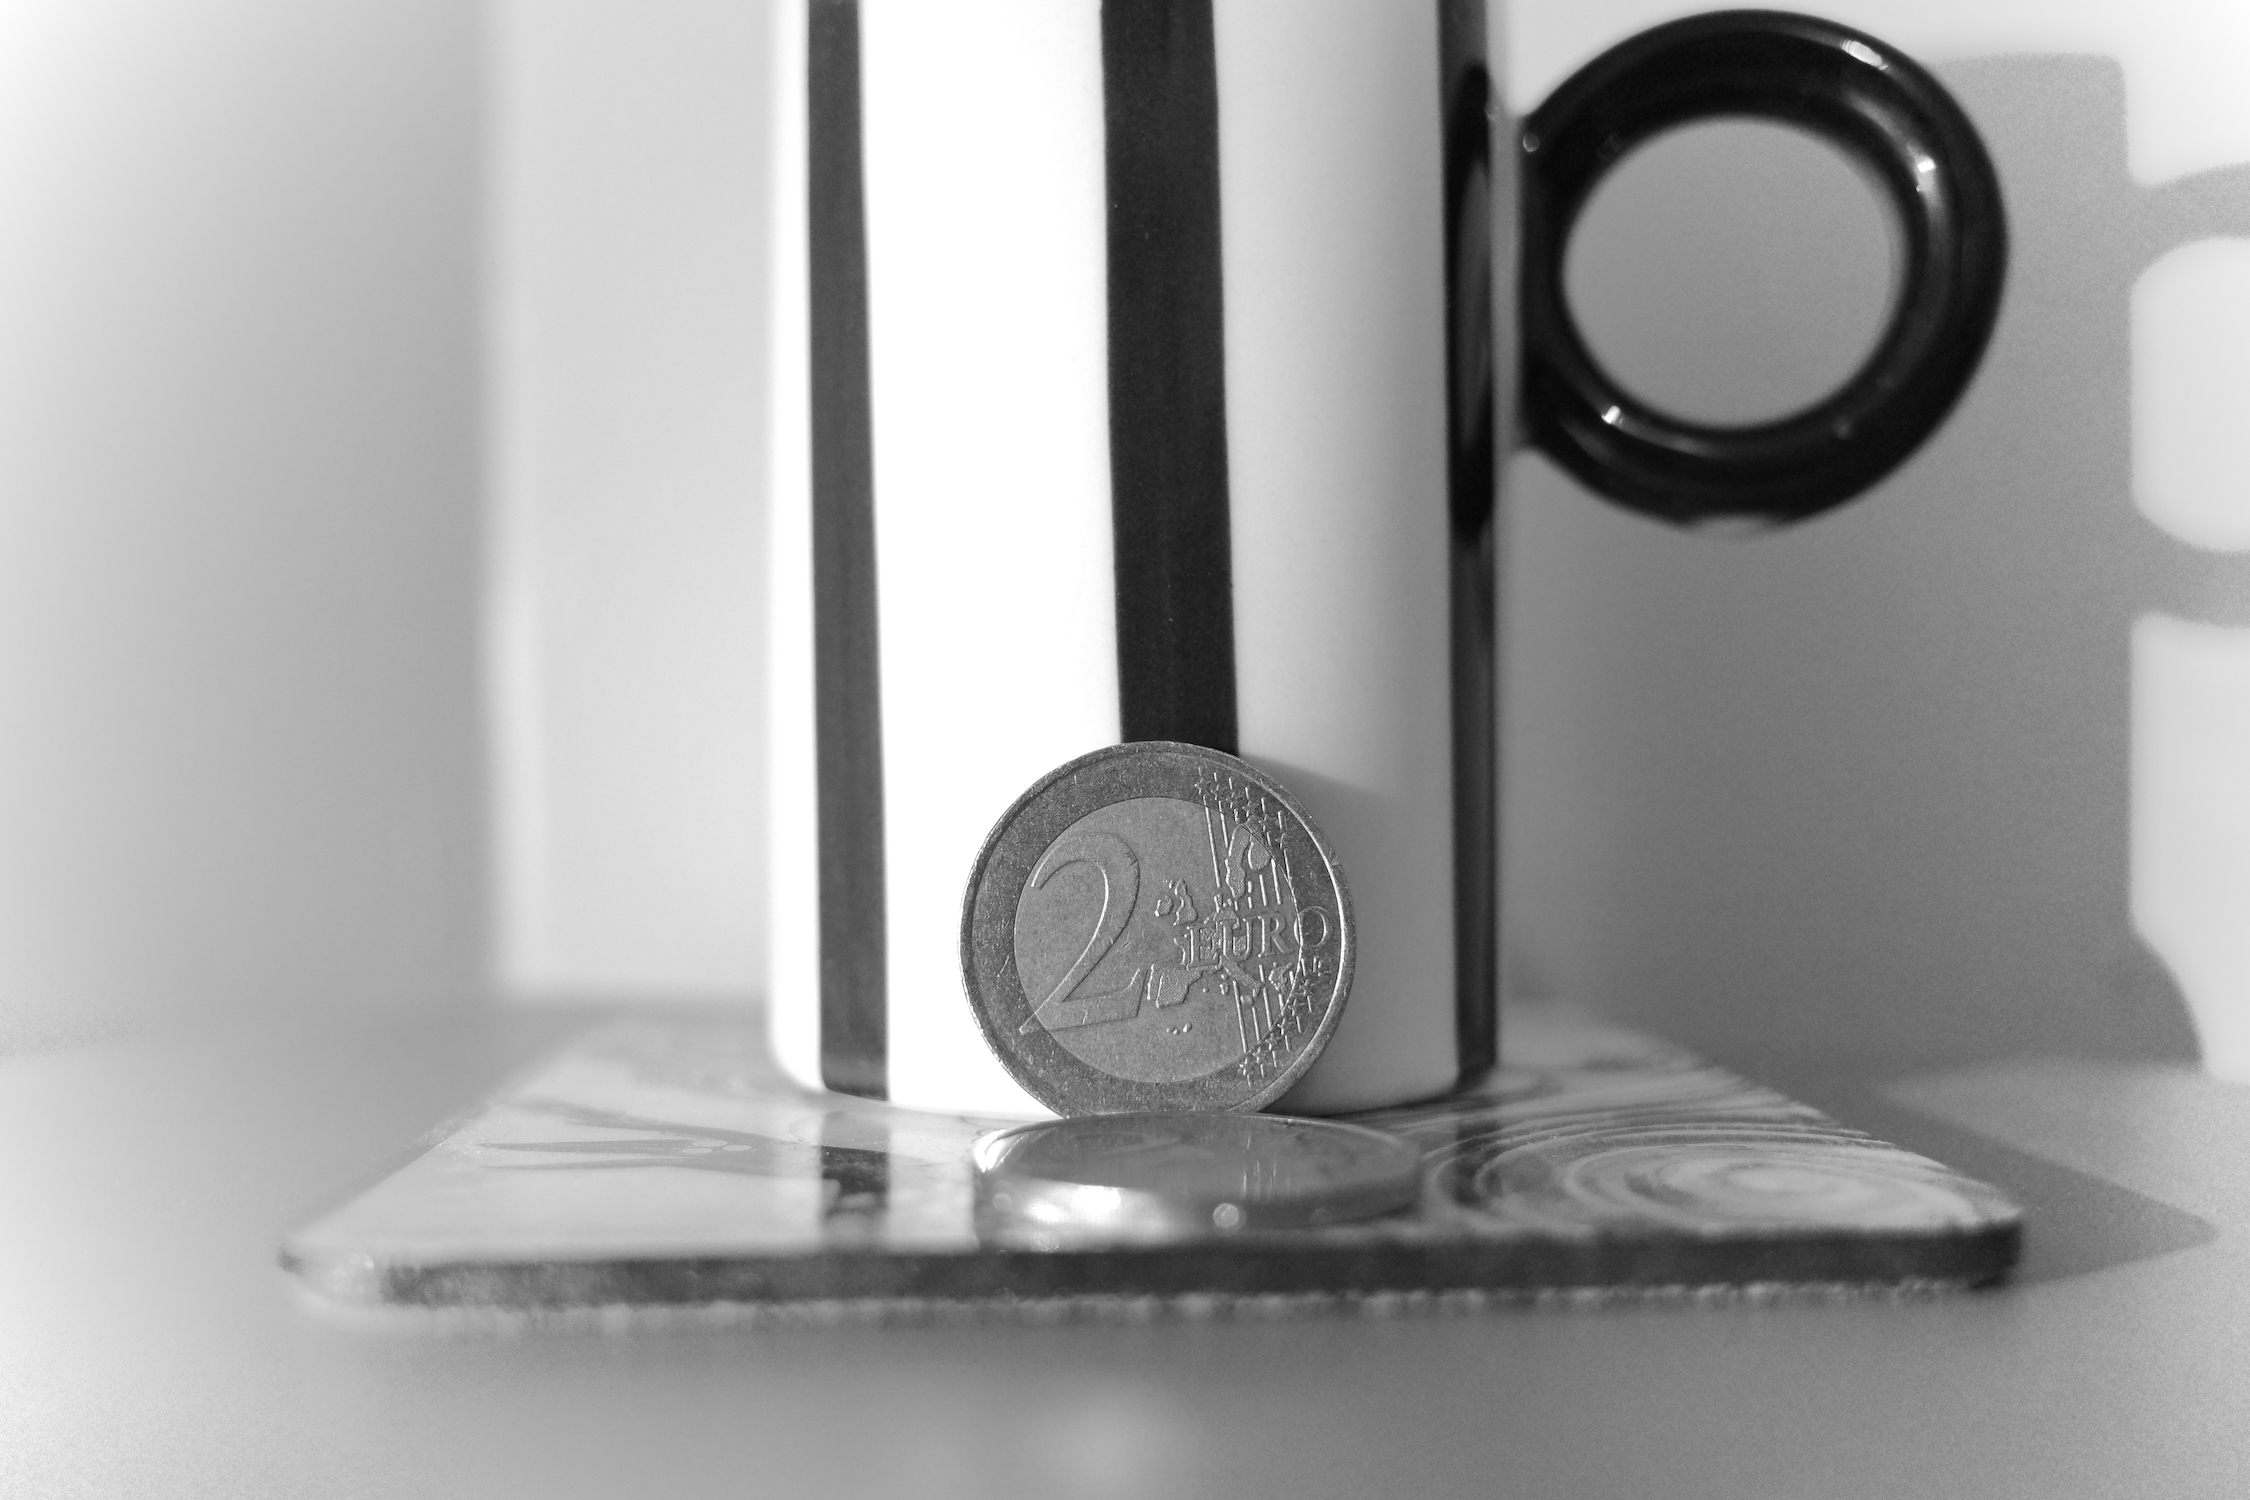
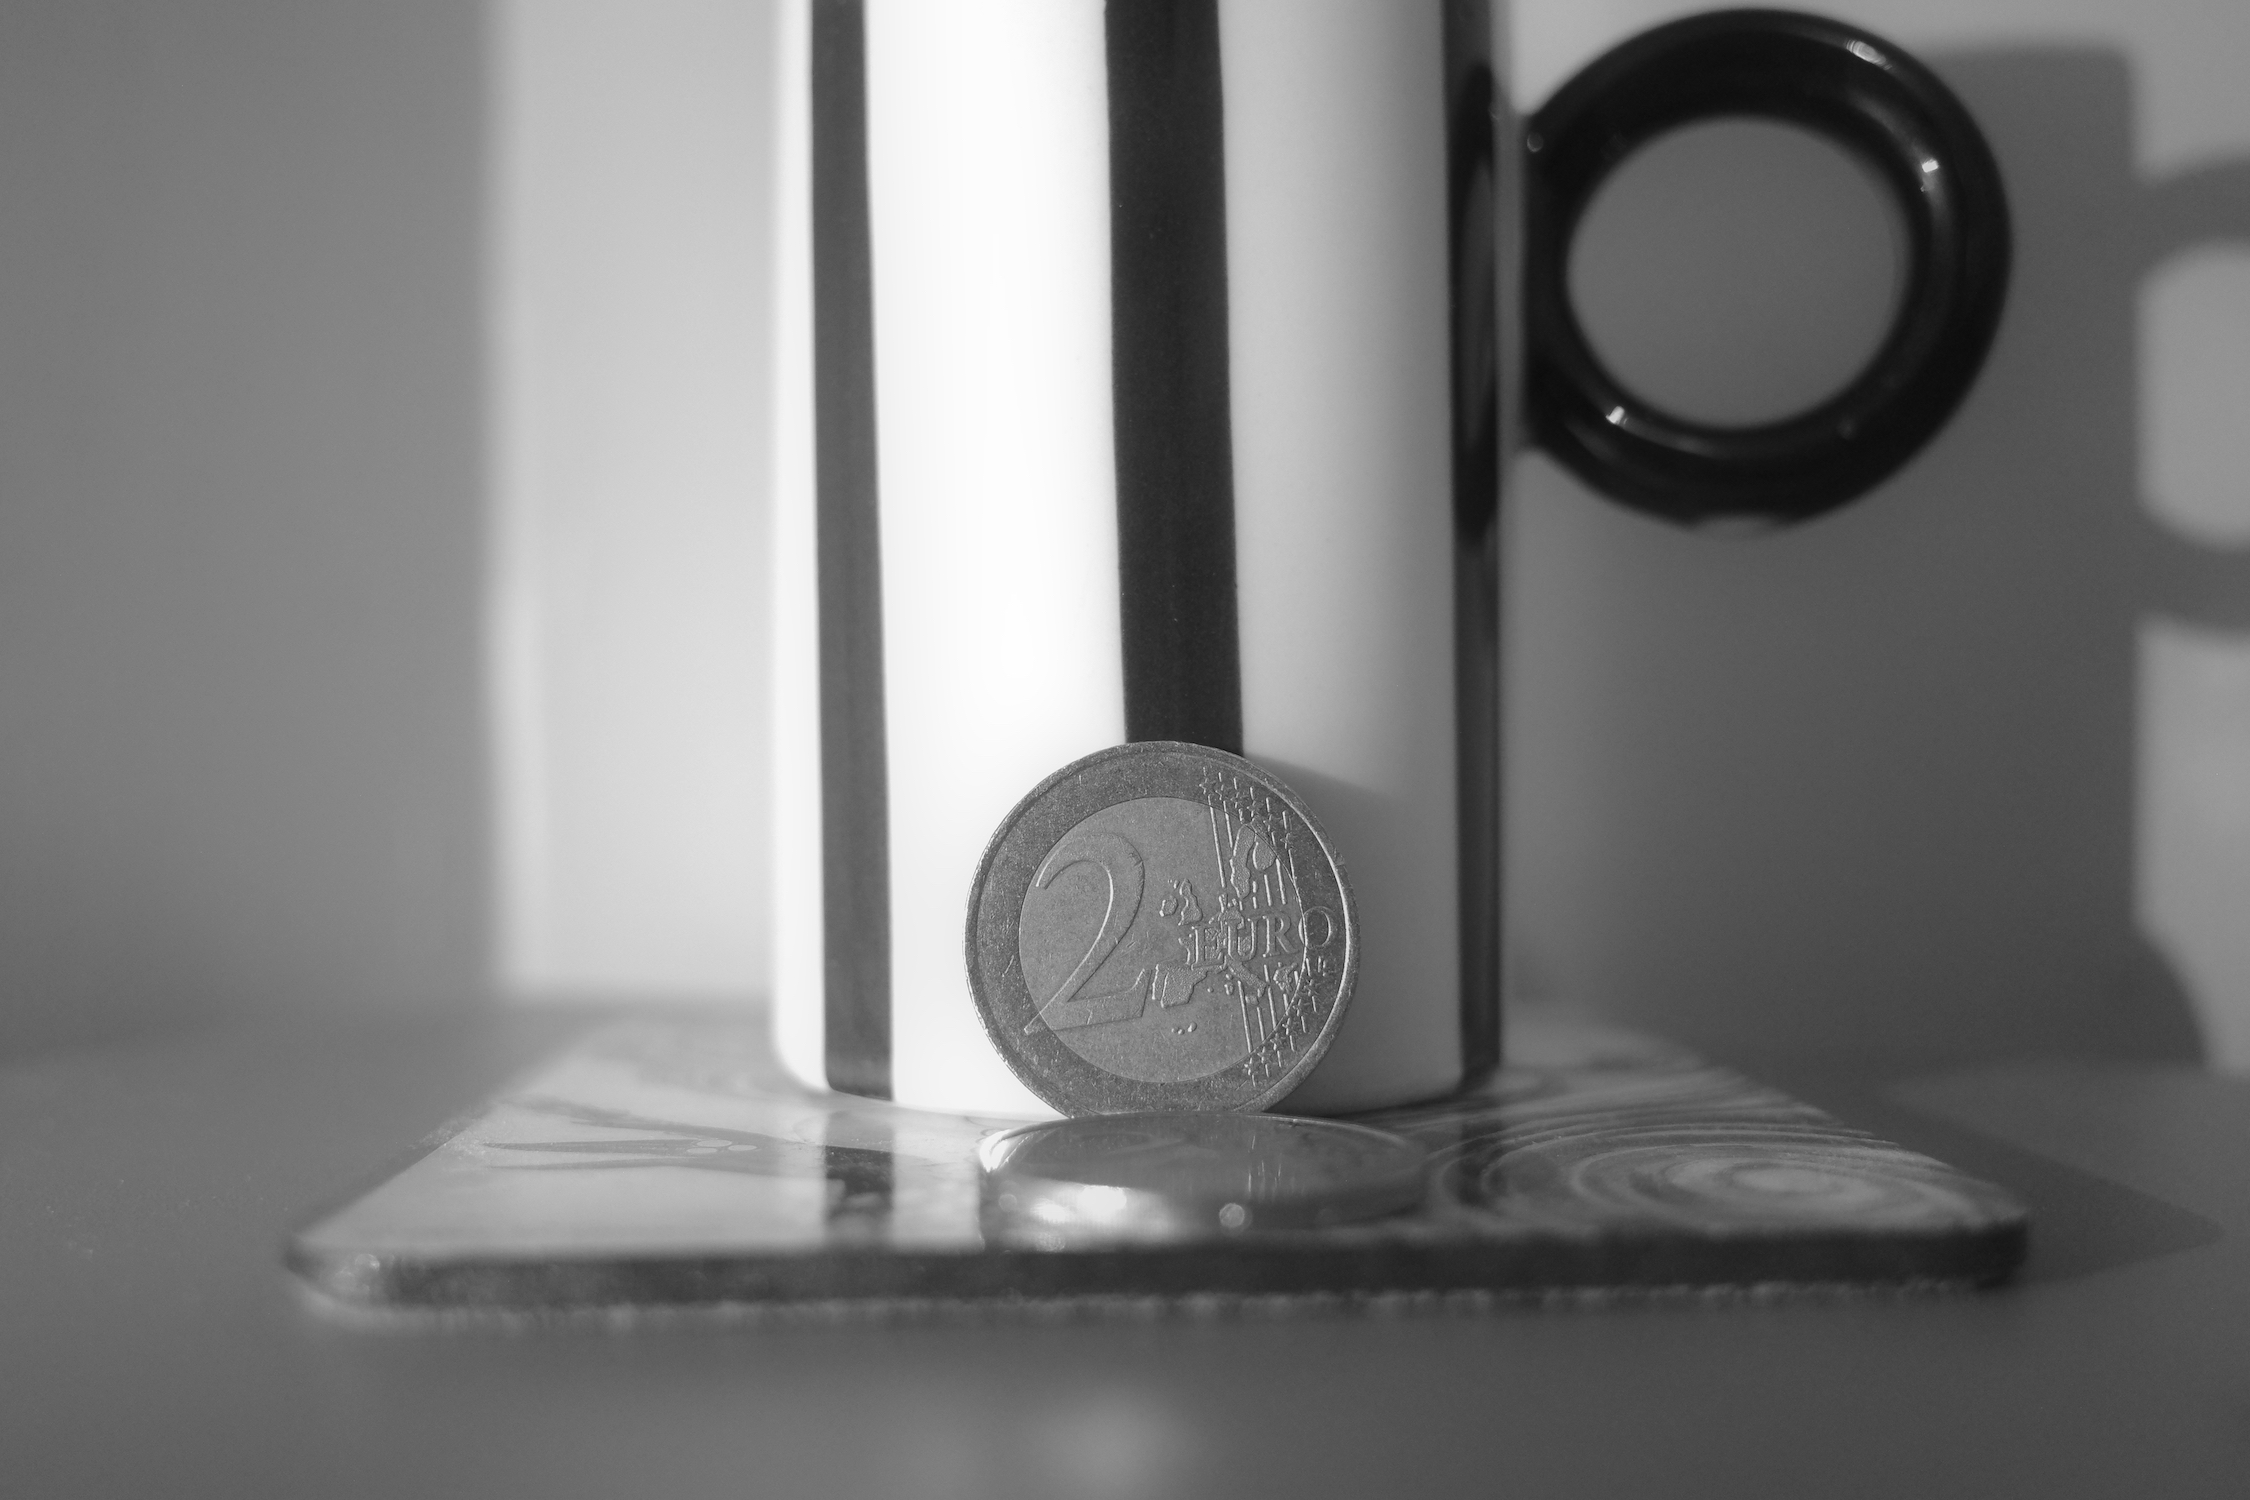
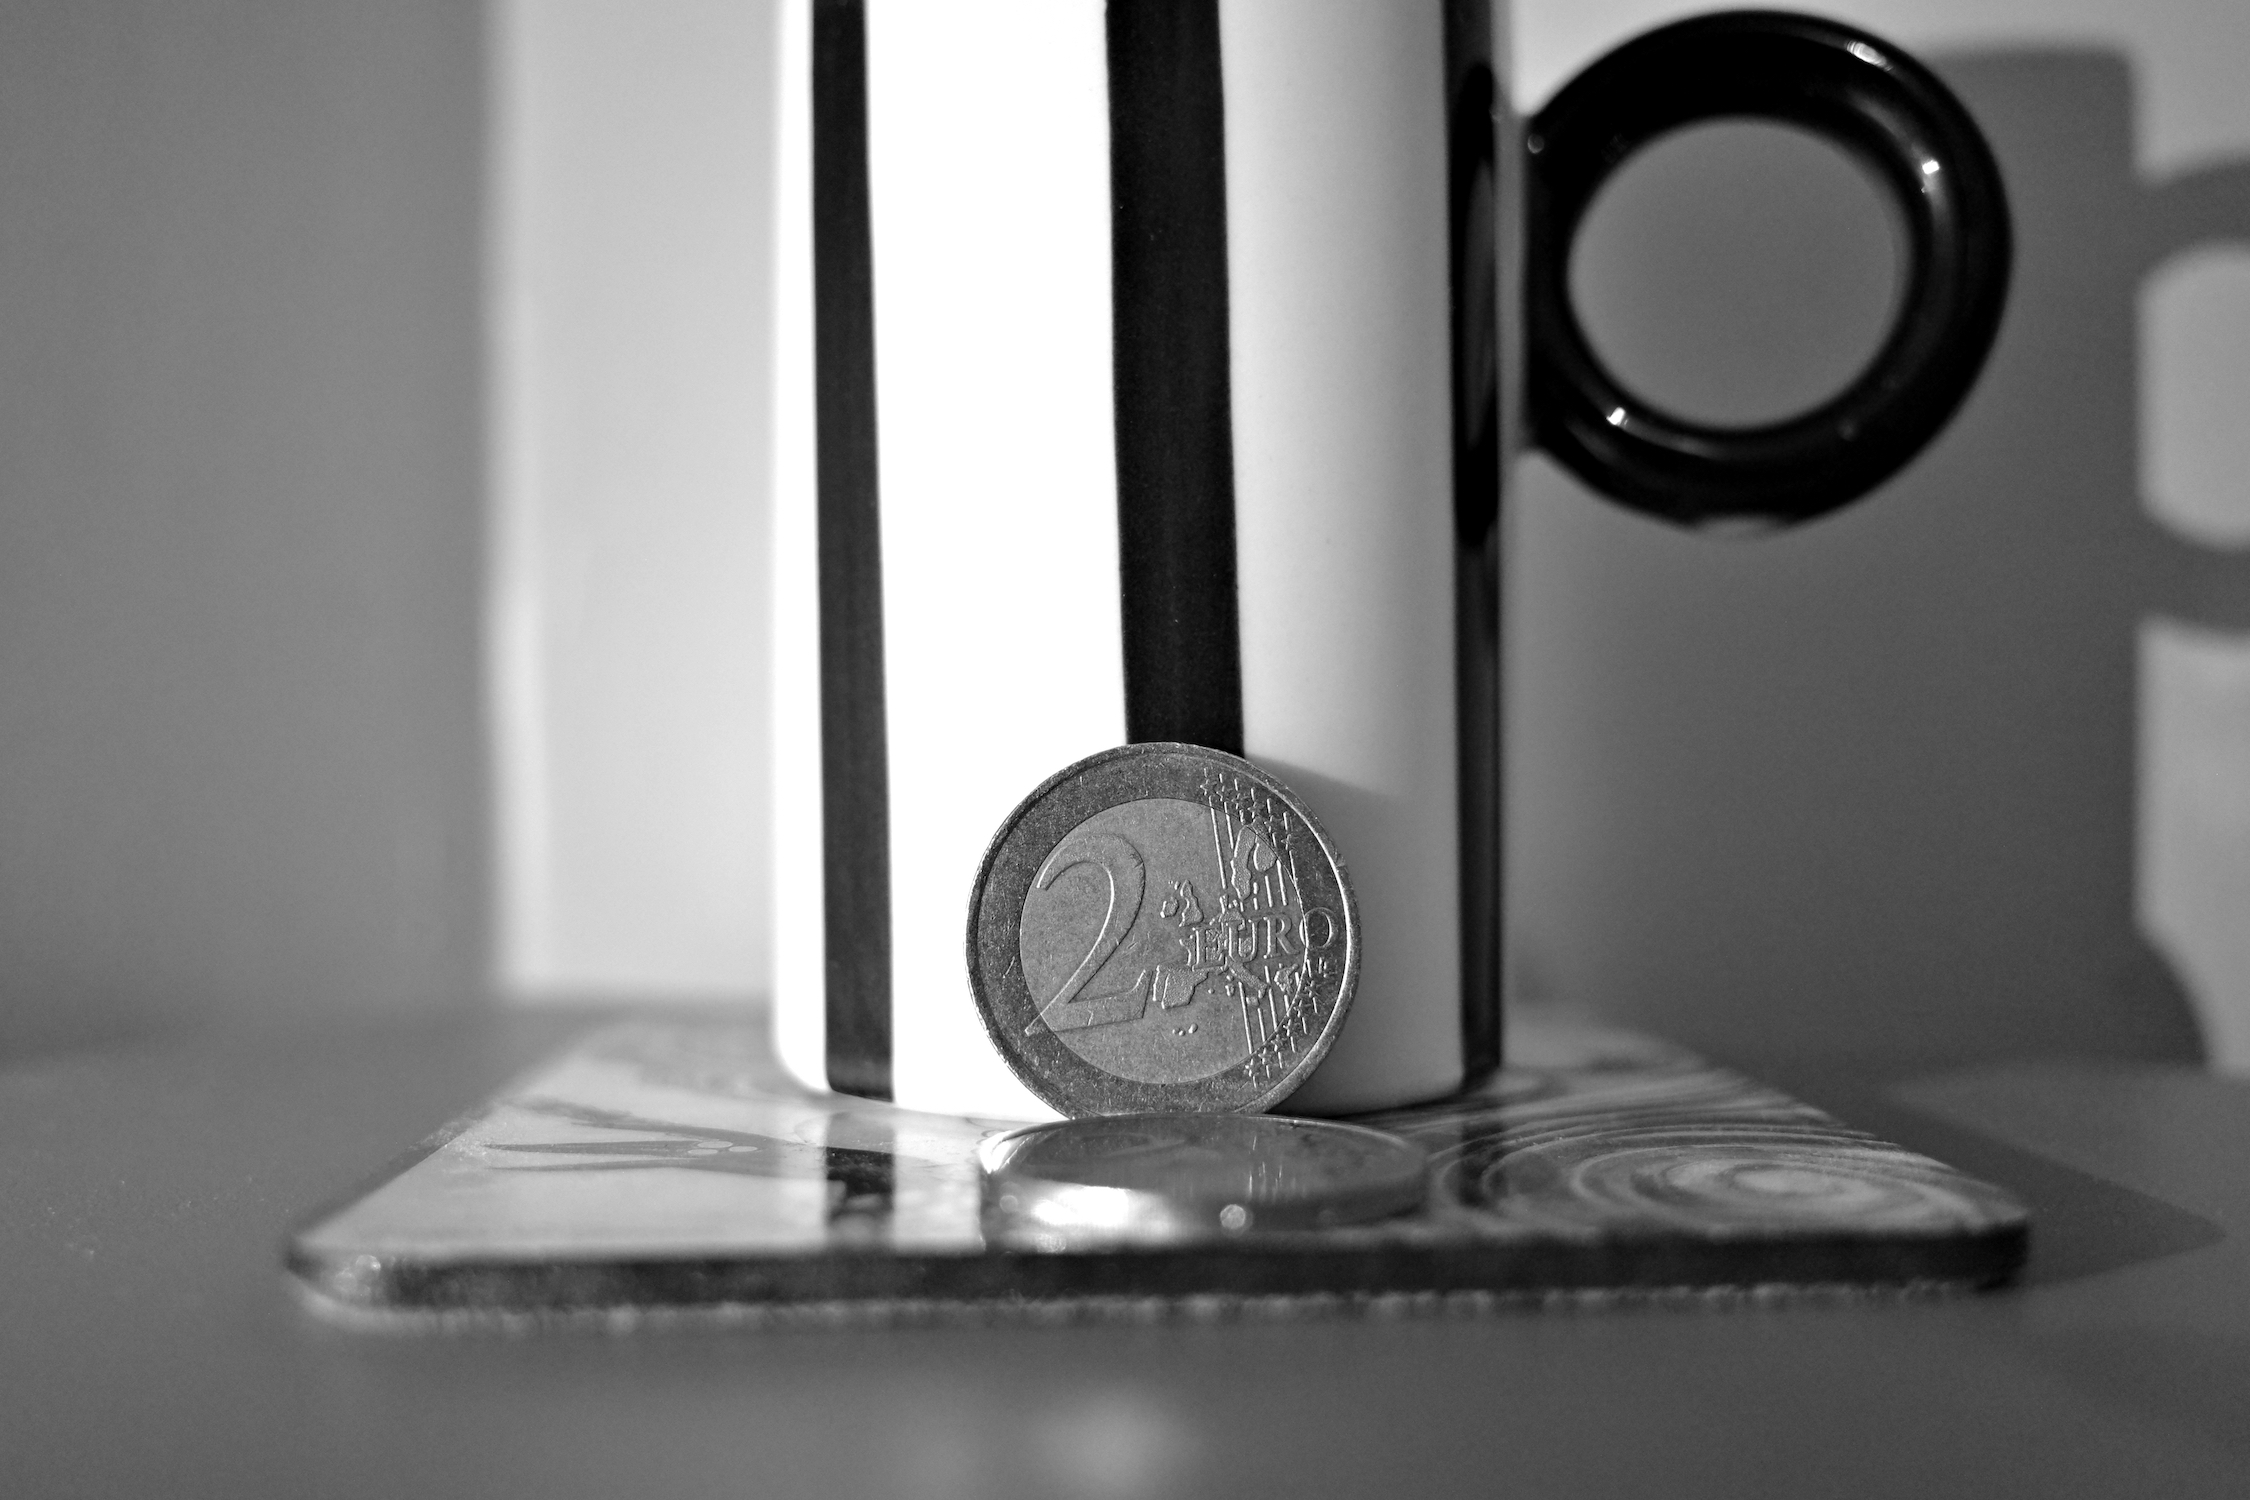
All the comparison shots below were taken using the manual mode under controlled light. The standard BW (Monotone) mode was used with all the options set to default (except for the setting shown in each photo).
High / Low-Key
A higher-key photograph will be brighter. A lower-key one will be darker. You have 4 levels on each side of neutral. I adjust this setting depending on my mood and the light conditions. For example, you may dial it a bit down when you want your shots to be darker and with fewer details. Do the reverse when you want more details.
Contrast
The less contrast, the flatter your shots will be. The more contrast, the bolder they will be with more relief. You may want to dial it down a notch or two when you shoot under hard light. Say, a Summer afternoon.
Contrast (Highlight)
Ranges from -4 to +4. Dial it up to make the white brighter. Dial it down to make it darker. It’s another useful setting to deal with hard lights.
Contrast (Shadow)
Below zero your shadows will be darker and you’ll have fewer details. Above zero they will be brighter and you’ll have more details.
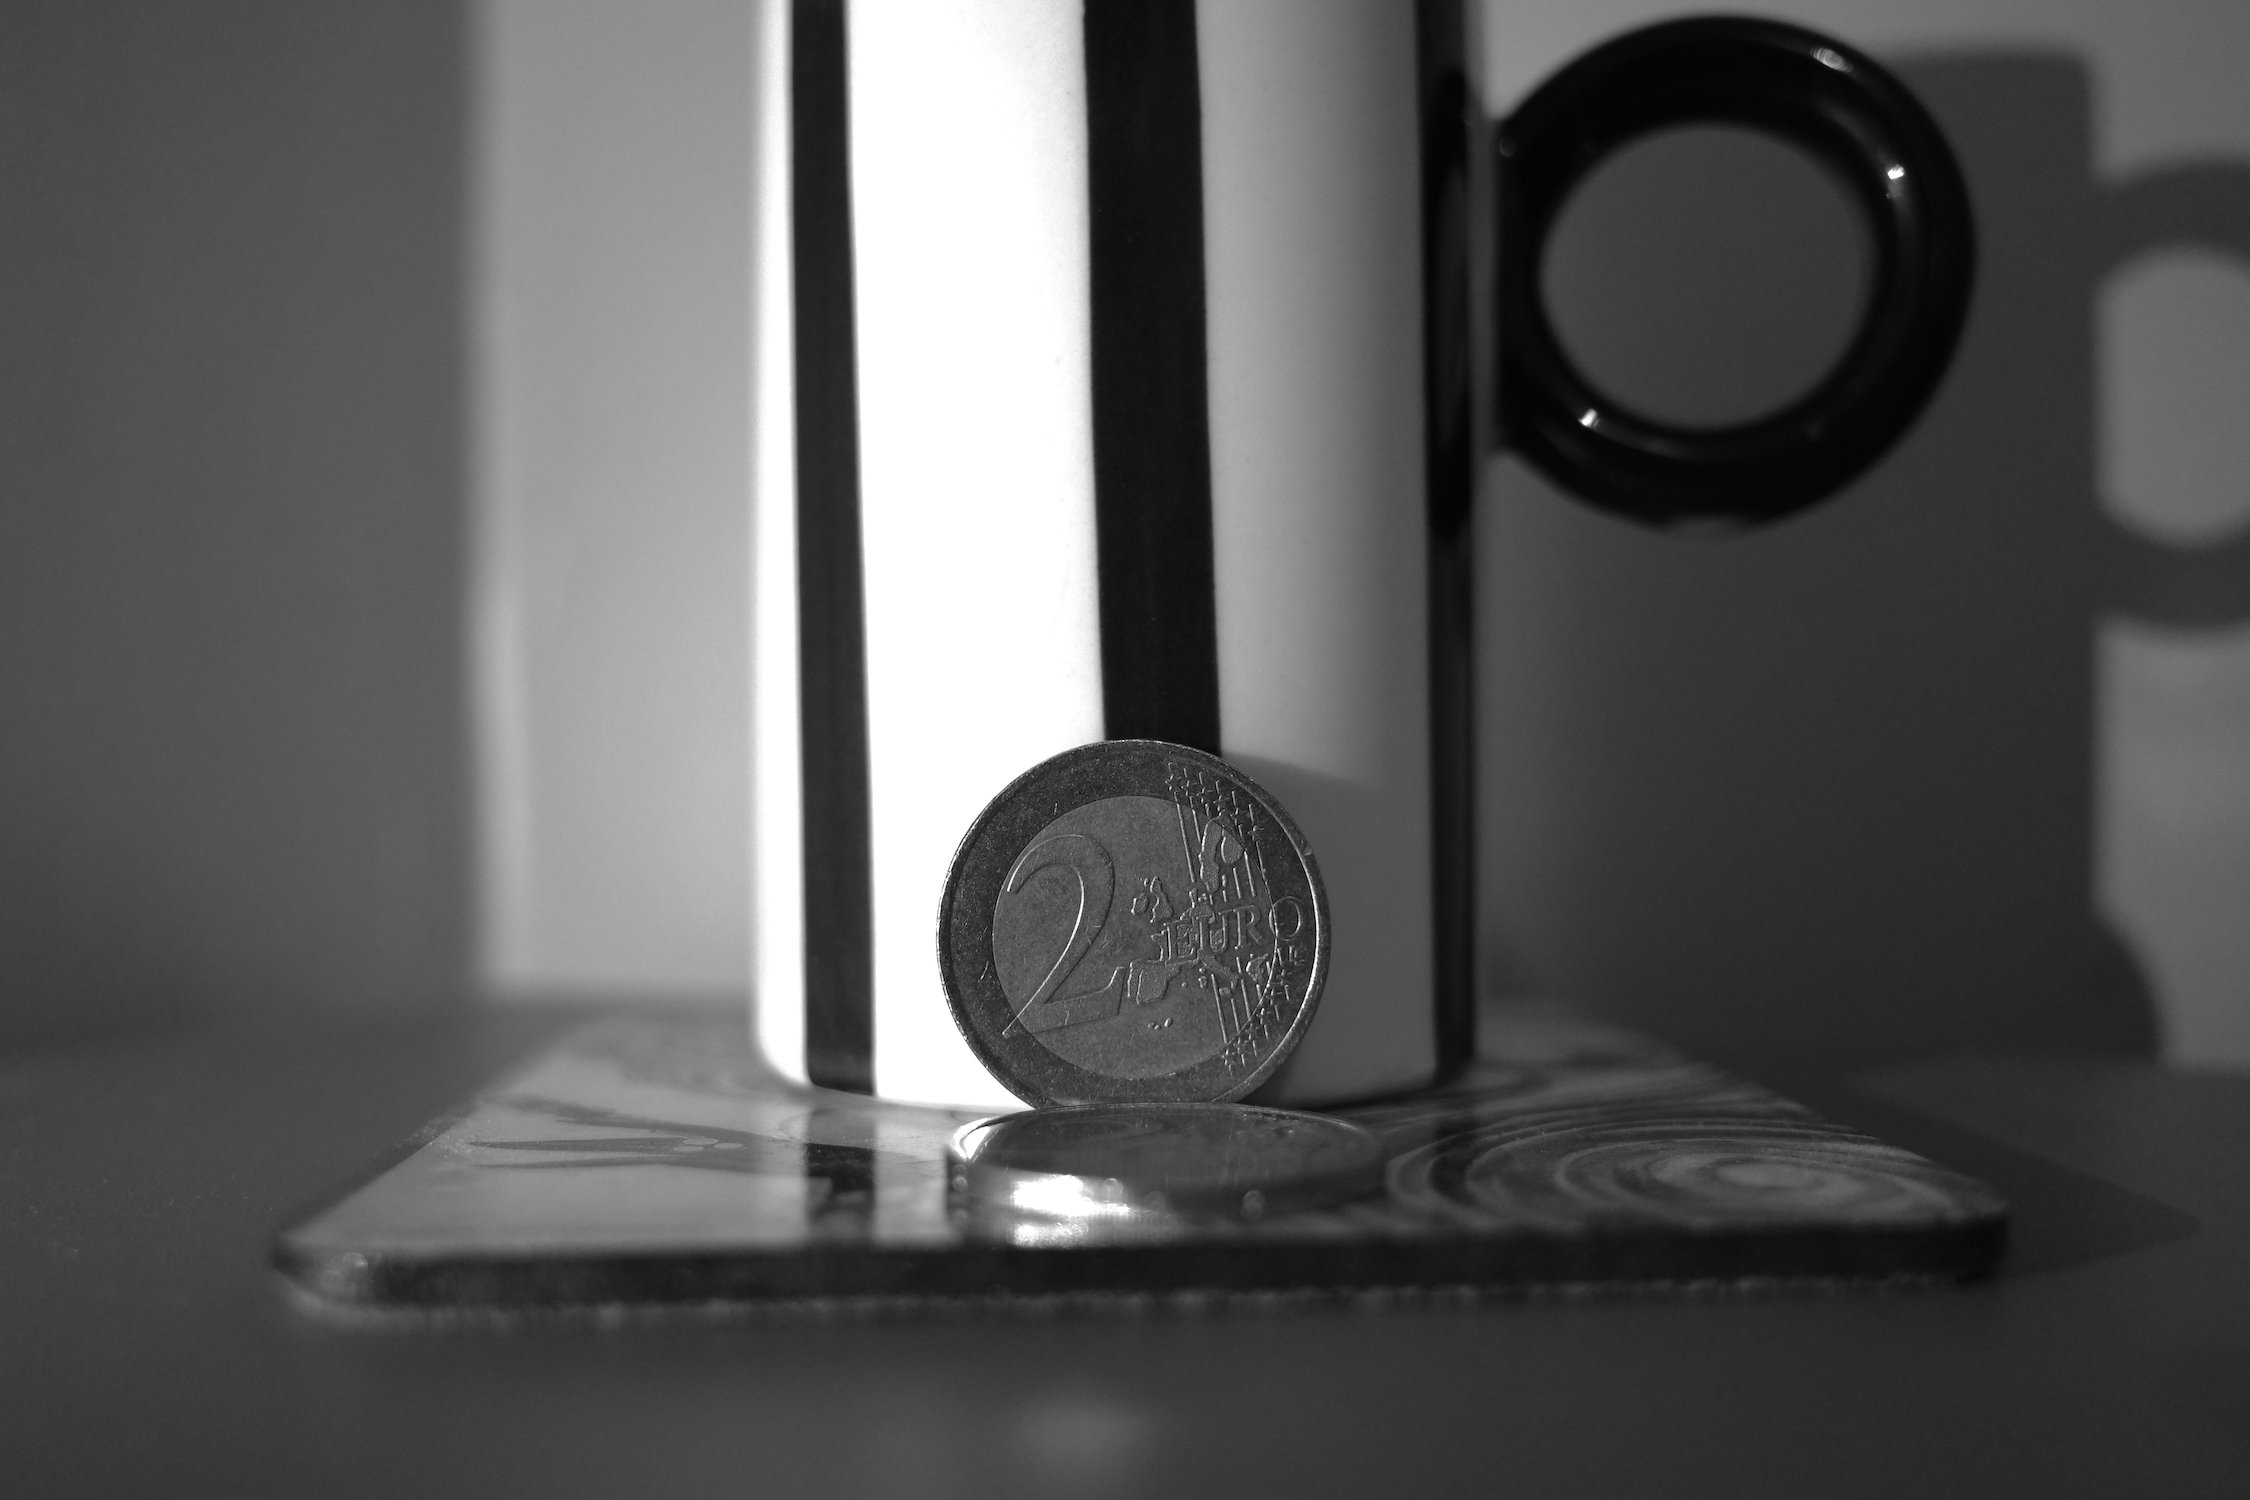
Sharpness
This setting controls edge contrast. You’ll want to dial this up just a bit to have more details. Dial it down to have softer images. Compare for example the texture of the coin below.
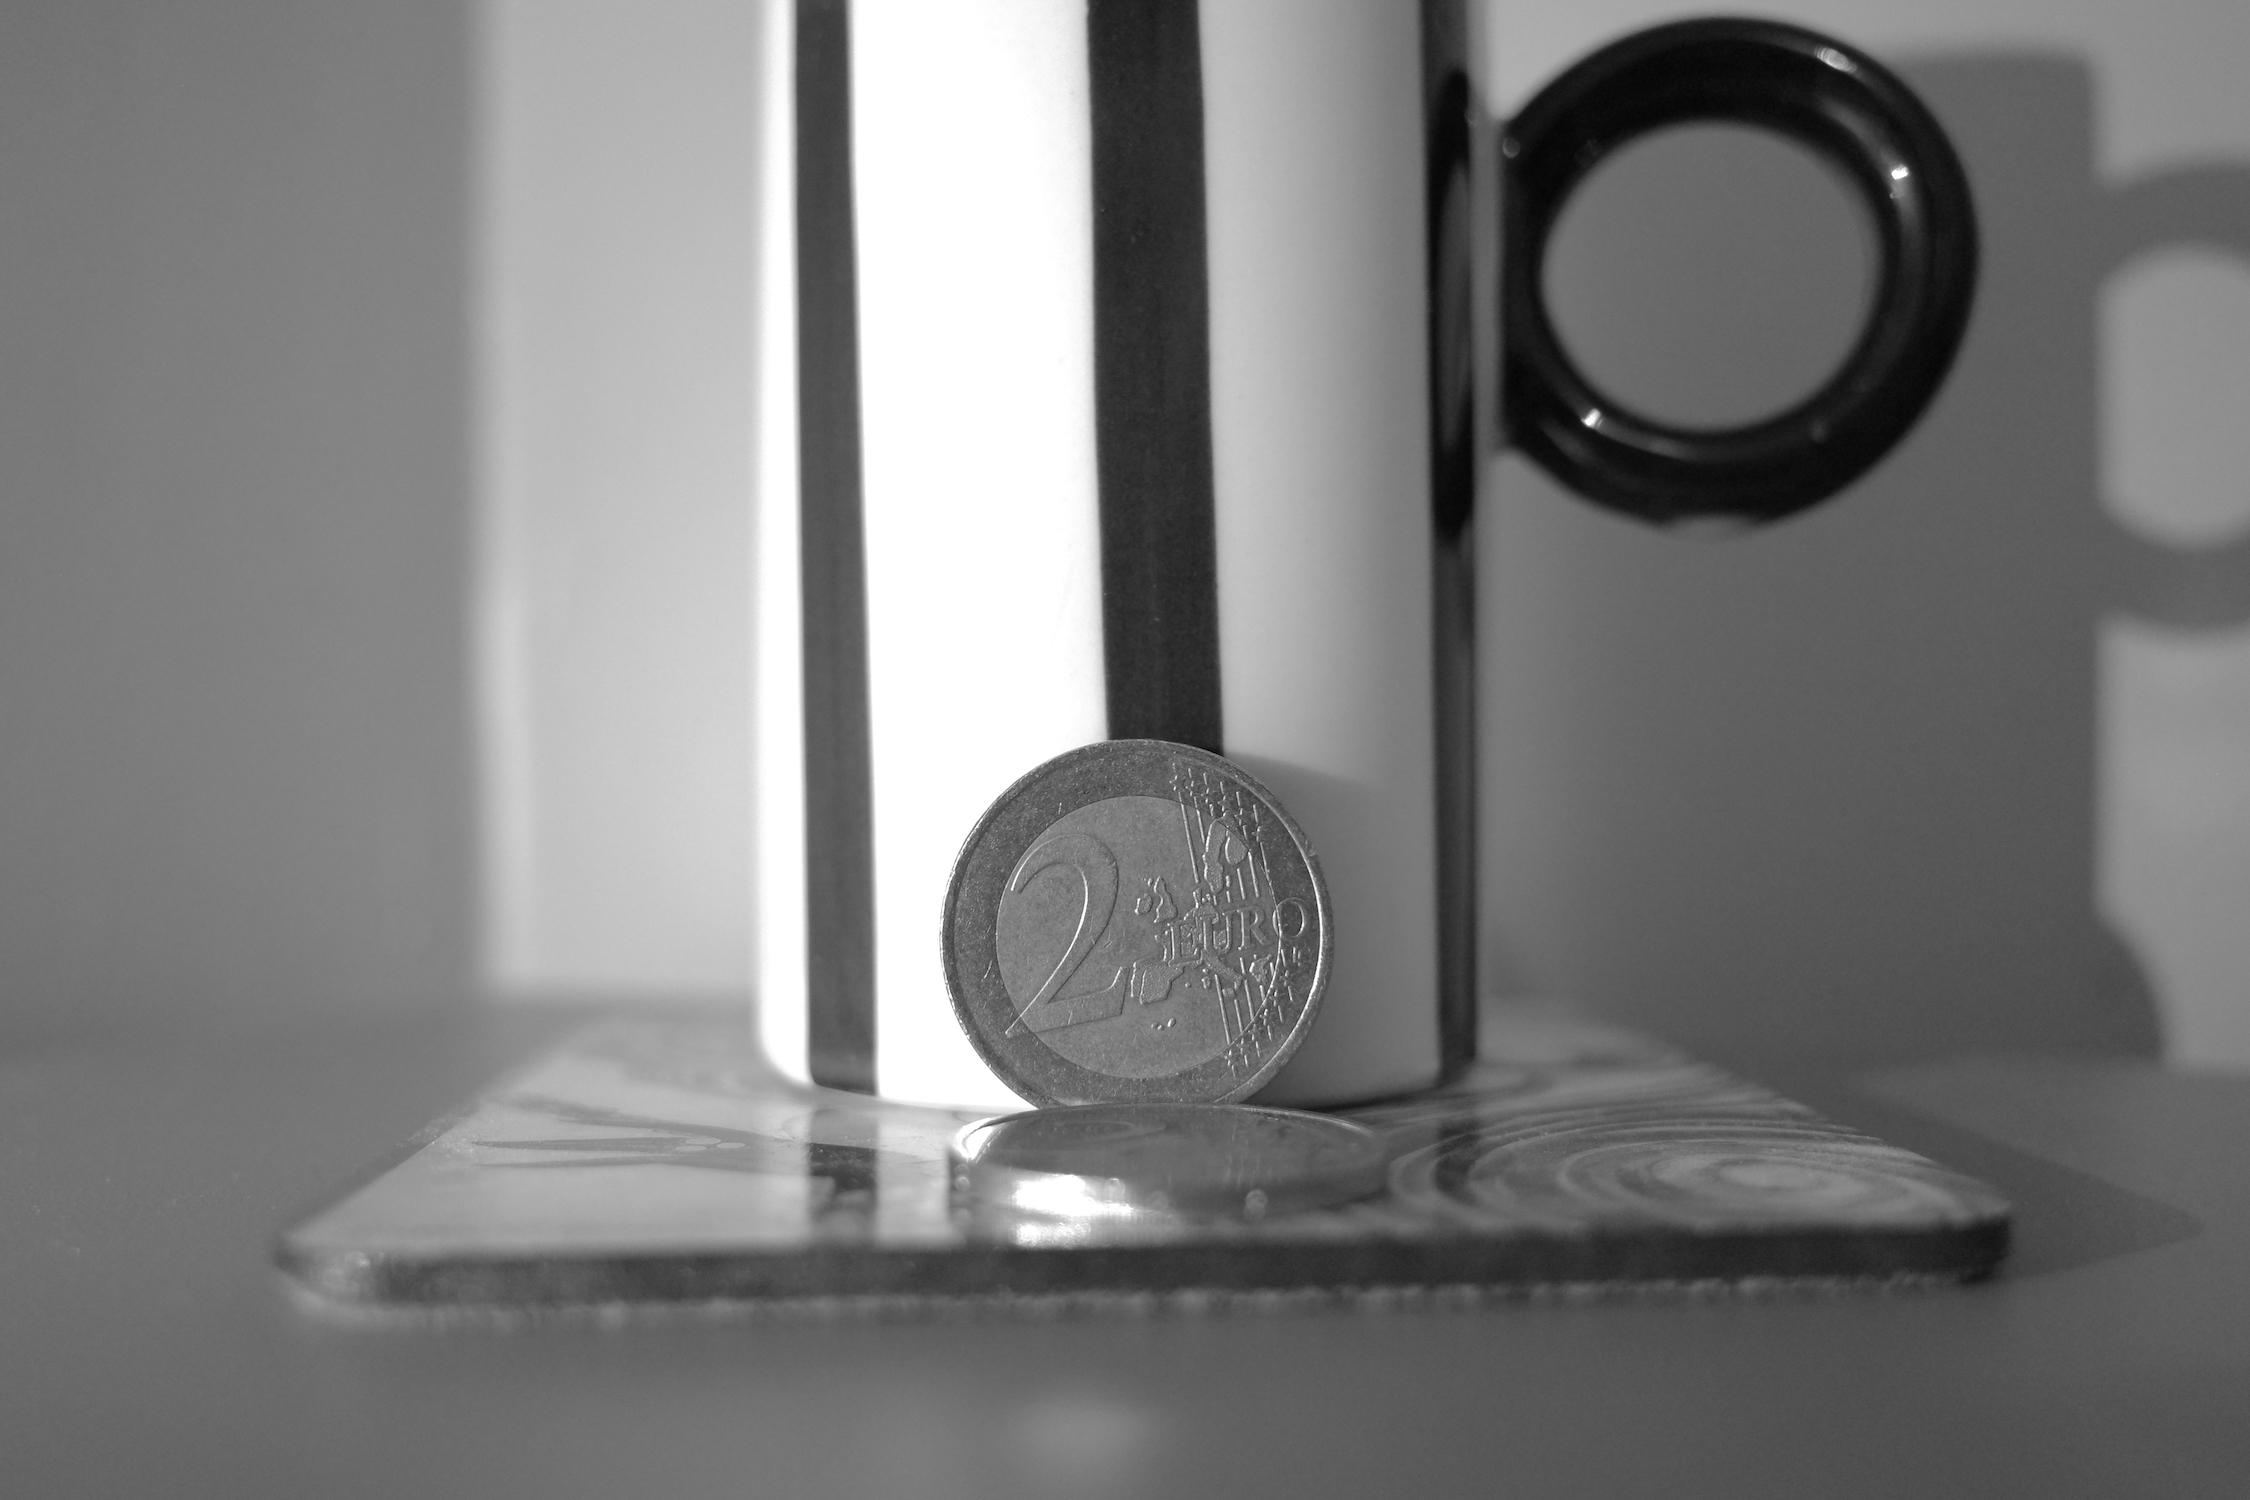
Toning
Toning gives you the option to add a color tone to your photos. You have the option between Sepia, Red, Green, Blue, and Purple. Depending on how you use it, it may ruin your shots or give them a particular flavor. I personally turn this off. See below how it translates with the red toning.
Filter effect
Simulates filter effect like a red one for example. You have the choice between 4 simulated filters and they’re each customizable. I personally prefer to use a real round filter with the GA-1 adapter. I find it more fun and pleasurable to use. Still, give it a try.
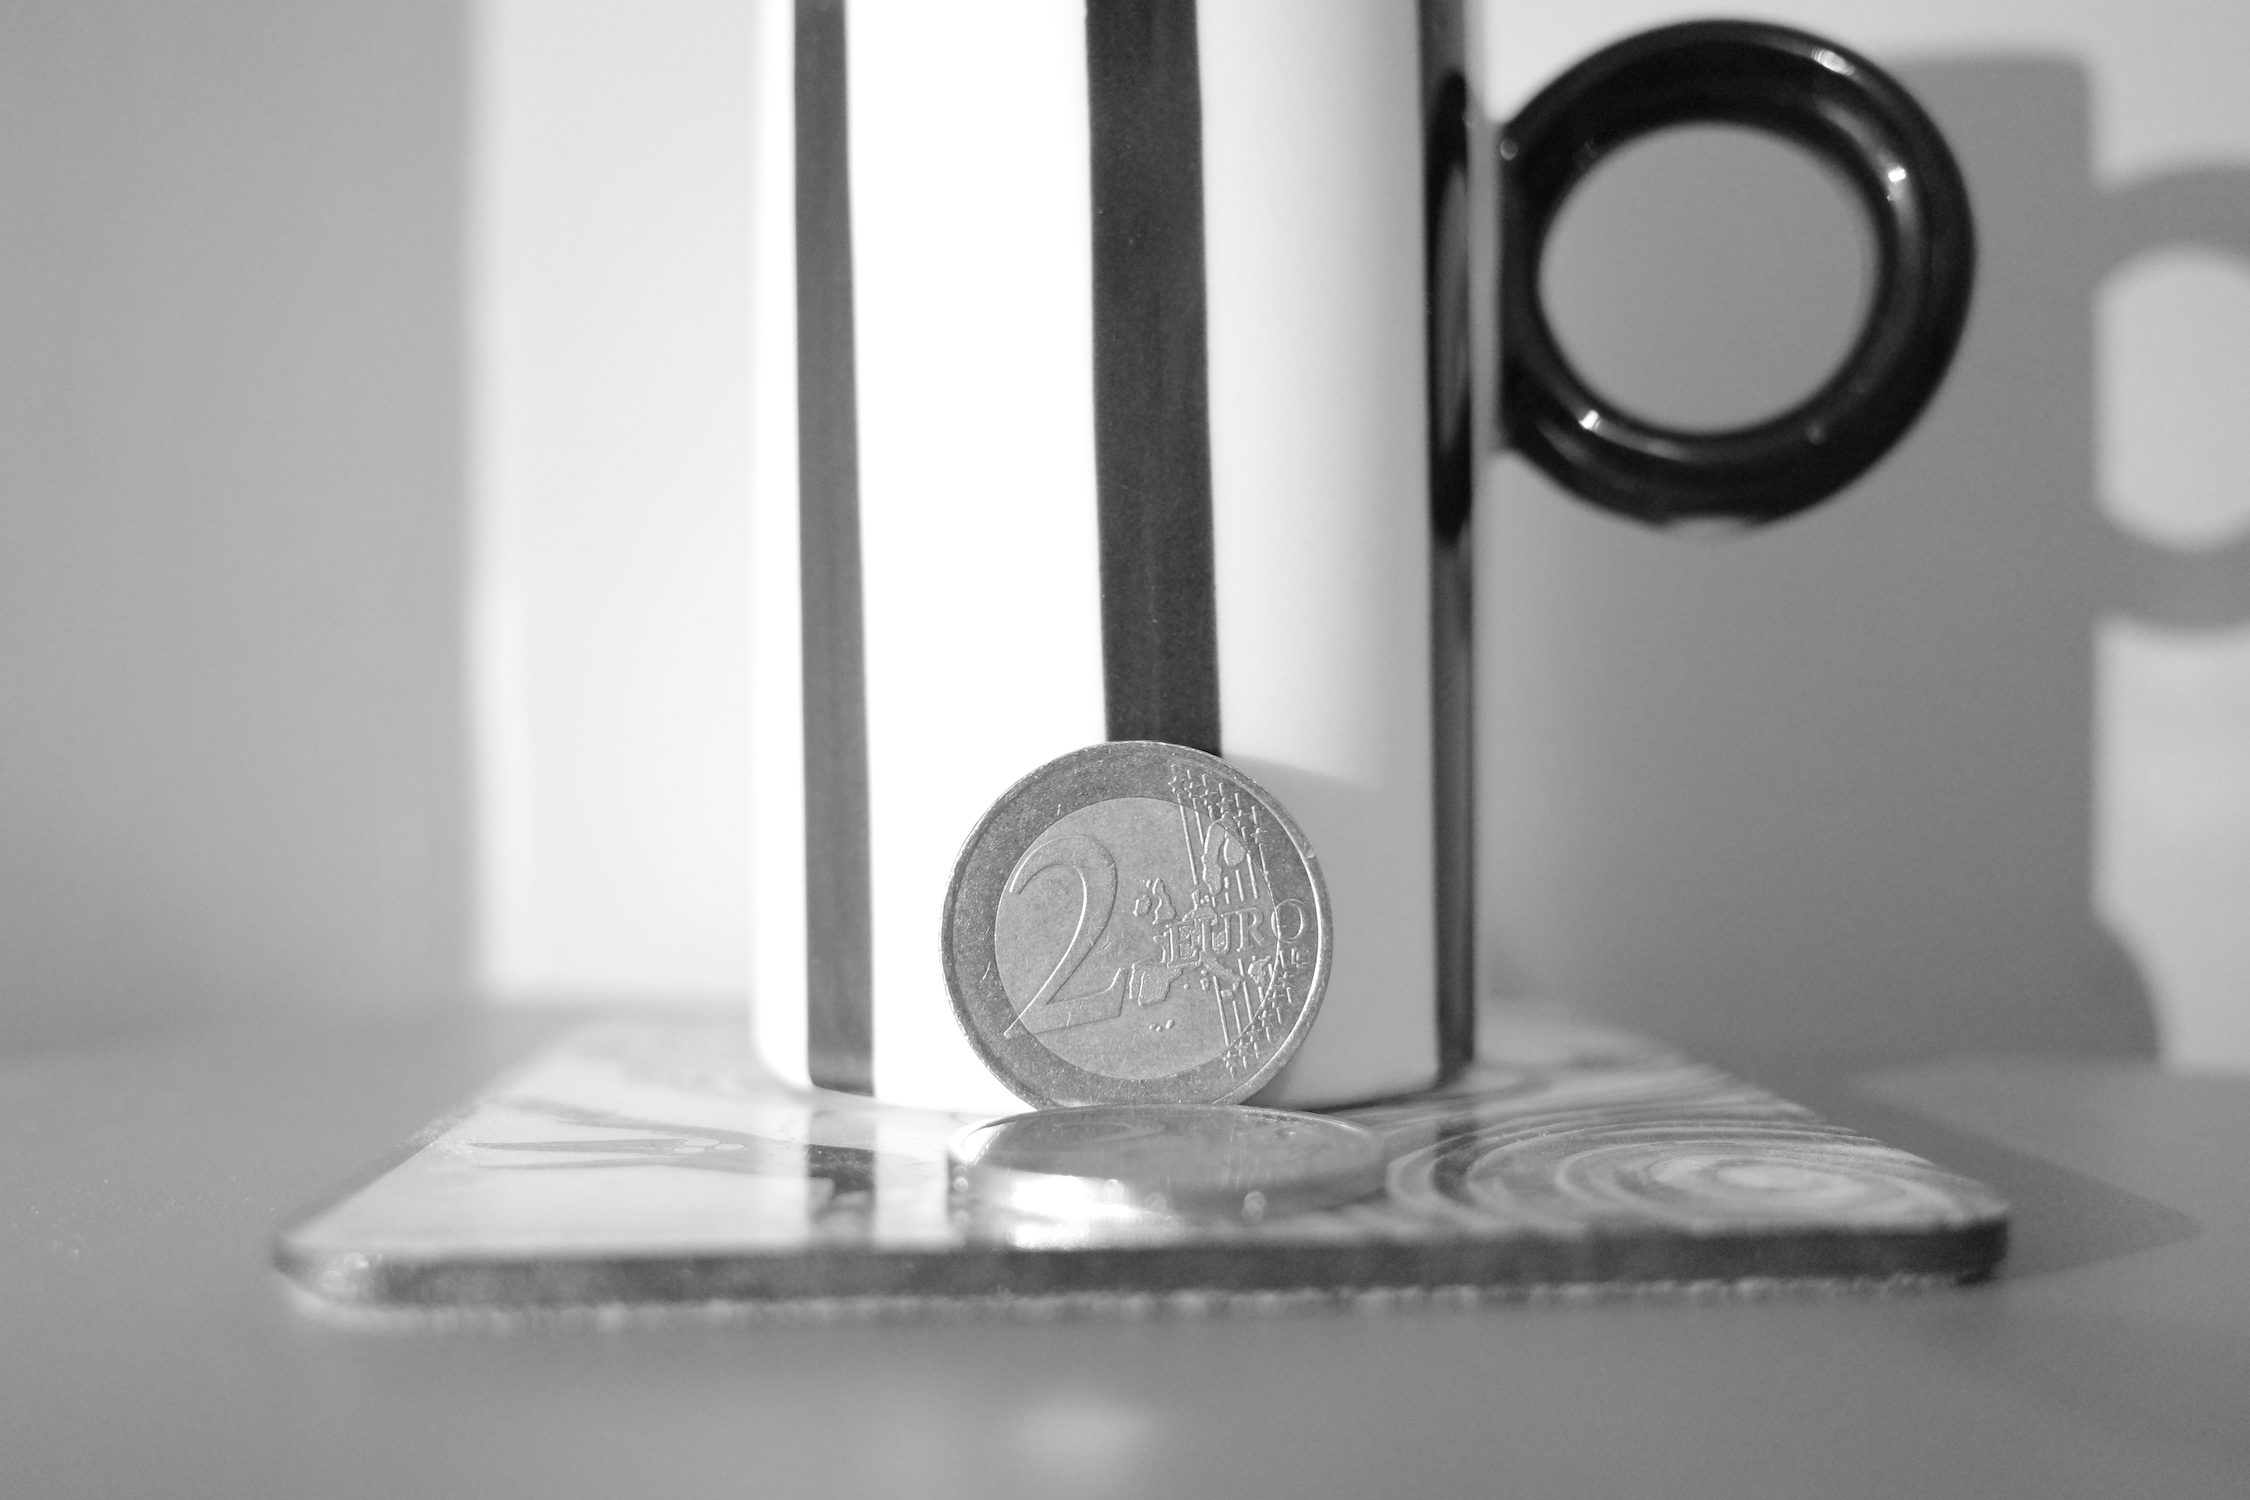
Shading
Decrease it to have more vignetting. Increase it to have less vignetting. See the two photos below at both extremes to make up your mind.
Clarity
This setting controls the clarity of your photos. At -4 your shots will be really soft and at +4 they’ll be crisp. A softer photograph isn’t a bad thing and can have some charm. This setting isn’t available in the Soft Monotone mode.
Grain effect
You have the choice between 3 intensities for the grain effects. This can be turned off, of course.
HDR Tone mode
You can also use the HDR Tone mode to take black-and-white photos. It was discussed in a previous blog post. Please read Monochrome HDR photography with the Ricoh GR III.
Play with them
These settings will highly impact the results of your monochrome photographs. To understand them: play with them, change them, and experiment with them. You’ll know your GR III better and you’ll give more possibilities for your soul to express itself in monochrome.
